
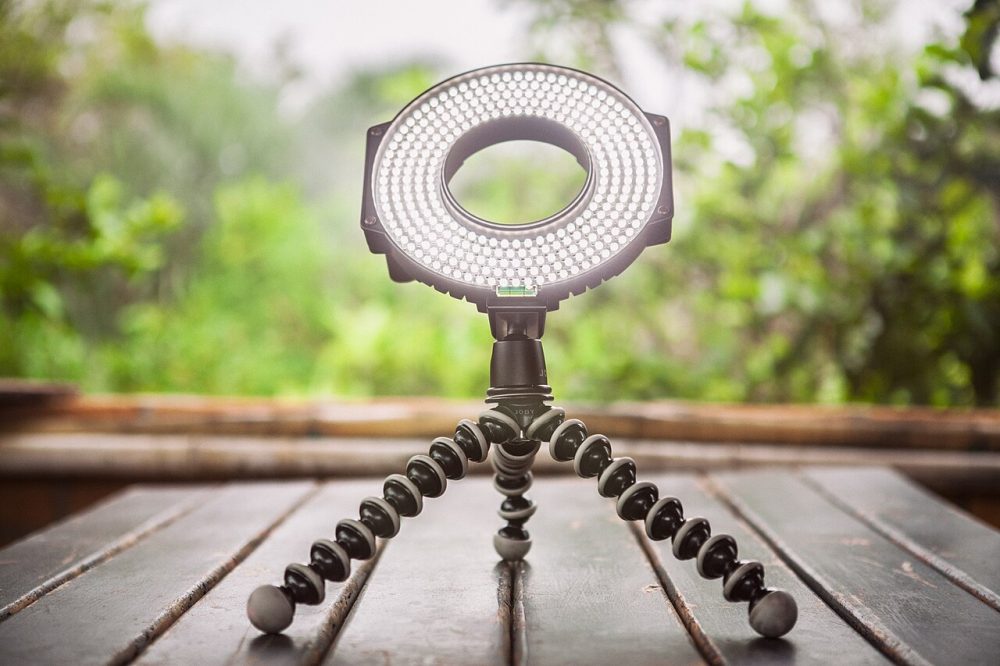
Better video calls come down to camera height, lighting and a few settings, not expensive gear. Here is a routine you can run through before your next meeting.
This guide is general information, not technical or legal advice. If you’ve lost money or personal information, contact your bank, IDCARE on 1800 595 160, or report it through ReportCyber at cyber.gov.au.
Quick summary
- Raising the camera to eye level is the single quickest improvement, and a laptop stand or a stack of books does the job.
- Sit facing your light source rather than in front of it, so your face is lit and the camera is not fighting the background.
- A microphone close to your mouth, such as a headset mic, will always beat the built-in mic across the desk.
- Teams and Google Meet both let you choose which mic, speaker and camera to use, and both have built-in tests or previews.
- Run a test call the day before an important meeting so there is time to fix permissions, drivers or settings.
Most video call problems have nothing to do with the app or the internet. The camera sits below eye level, a bright window glares from behind, and the microphone is a tiny hole on the other side of the desk. This walkthrough covers the fixes in the order that matters most: camera height, lighting, microphone, settings, then a short test before the real call.
What you need
You need the device you already call from, headphones with a microphone or a separate mic if you have one, and a light source such as a window or desk lamp. Before you start, bring your software up to date, because an out-of-date operating system or call app is behind a surprising number of camera and audio faults. If updates keep slipping, our guide to why software updates matter makes the job easier.
Step 1: Start with the camera at eye level
A laptop sitting on a desk points up your nose. Raise the laptop on a stand, a riser or a stack of books, or clip an external webcam to the top of your monitor, so the lens sits level with your eyes and points straight across at you.
Then open your video preview and check the frame:
- Your head is not cut off at the top, bottom or sides.
- You are not leaning back or tilting your chin up to be seen.
- You are sitting up straight, roughly an arm’s length from the camera.
One habit makes more difference than any setting: when you speak, look at the camera itself rather than at your own preview or the faces on screen. A small note beside the lens works as a reminder.
Step 2: Face the light, don’t sit in front of it
Put your light source in front of you, slightly off to one side, so it lights your face. A window behind you turns you into a silhouette because the camera exposes for the bright background and leaves you dark. If you must work in a bright room, a lamp on your side of the desk balances things out.
The apps can help. Google Meet can detect when you are underexposed and brighten the picture automatically, though availability depends on your device and plan, and enabling it may slow your device down. Microsoft Teams has a similar adjust brightness option in its camera settings. Treat both as backup, not a substitute for facing the light.
Step 3: Choose and position a microphone
The mic built into a laptop sits far from your mouth, so it captures your voice at the same volume as the room. A headset mic or a small mic on a stand placed close to you gives a much cleaner signal without much effort. Wearing headphones also stops your speakers feeding sound back into the mic, which is the usual cause of echo on calls.
Whatever you use, keep it close, keep it out of your breathing path, and mute yourself whenever you are not speaking. That habit alone removes most of the keyboard clatter, chair scrapes and side conversations that other people hear.
Step 4: Pick the right mic and camera in your call app
Having a good device is useless if the app is listening to a different one. In Microsoft Teams, select Settings and more, then Settings, then Devices, and choose your preferred mic, speaker and camera from the dropdown menus. A live preview shows what the selected camera sees.
In Google Meet, open meet.google.com and check your settings before joining. Under video settings you can pick the camera and, on a computer, the send quality: standard definition uses the least data, high definition (720p) uses more for a better picture, and full high definition (1080p) uses the most and needs a 1080p camera plus enough processing power. Sending 1080p is limited to certain editions, so if the option is missing, that is likely why. If your connection is shaky, dropping to a lower setting keeps calls smoother.
Step 5: Fix echo, background noise and dropped words
Work through the three common complaints in this order:
- Echo. Switch to headphones. Echo means your microphone is hearing your speakers, and separation fixes it.
- Background noise. In Teams, set noise suppression in your device settings to cut steady background sounds. Teams also offers voice isolation, which uses a voice profile to let through your voice alone. It works well in noisy households but can clip unusual sounds, so test it with the people you call.
- Dropped words and frozen video. This is usually the connection. If you work from home regularly, a wired connection beats Wi-Fi in a home office for stability, particularly for long calls. On Meet, lowering your video resolution also reduces the load.
Step 6: Tidy your background without a green screen
A plain, tidy wall behind you works better than any software trick. Aim for a solid colour that differs from your shirt, and clear away clutter and distracting pictures. People who are deaf or hard of hearing, and anyone who relies on lip reading, find speech harder to follow when the picture behind you is busy.
Blur and virtual backgrounds are still useful, with caveats. They make the edges of your picture blur or distort, which is a real problem for lip readers and sign language users, and they cost processing power and battery. Custom background images can also reveal more of your room than you expect, so check your self view first. If you do use a virtual background in Teams, there is a green screen setting that improves the result when you have an actual green screen behind you.
Step 7: A two-minute test before the real call
Run this check the day before anything important, not five minutes before. Close every app that might be using the camera, since a second app holding the camera is the most common cause of a black screen. If you use an external webcam, unplug it and plug it back in.
In the Teams desktop app, go to Settings and more, then Settings, then Devices, and select Make a test call under Audio settings. The test call bot records a short message from you, plays it back, and then shows a summary of how your mic, speaker and camera performed. The feature runs in English only, works in the desktop app rather than Teams on the web, and Microsoft deletes your recording immediately after the call.
If the camera still fails, check permissions. On Windows, go to Settings, then Privacy and security, then Camera, and allow camera access for desktop apps including Teams. On a Mac, open System Settings, then Privacy and security, then Camera. In a browser, allow the site to use your camera and mic when it asks. For video quality, Meet’s camera preview before you join, plus its pre-call device check, covers much the same ground.
Handy tip
Test the day before, not the hour before. That leaves time to update a driver, flip a privacy setting or find a better spot for your lamp without delaying the meeting.
Run through the seven steps once, then repeat the test before any call where you need to look and sound sharp, and you will know exactly what to adjust when something drifts.
Your questions answered
Q: Why does my camera show a black screen in Teams?
A: Usually another app is using the camera, or the operating system is blocking access. Close other apps, then check camera permissions in Windows Privacy settings or Mac System Settings.
Q: Do I need to buy a new webcam?
A: Often not. Eye-level placement, decent lighting and clean app settings fix most picture problems. Upgrade only if your built-in camera still looks poor after those changes.
Q: How do I test my camera and microphone before a call?
A: In the Teams desktop app, go to Settings and more, then Settings, then Devices, and select Make a test call. In Google Meet, check the camera preview and audio meters before you join.
Q: Why can other people hear themselves echo on my calls?
A: Your speakers are feeding sound back into your microphone. Wearing headphones breaks that loop, which is why they are the standard fix for echo.